
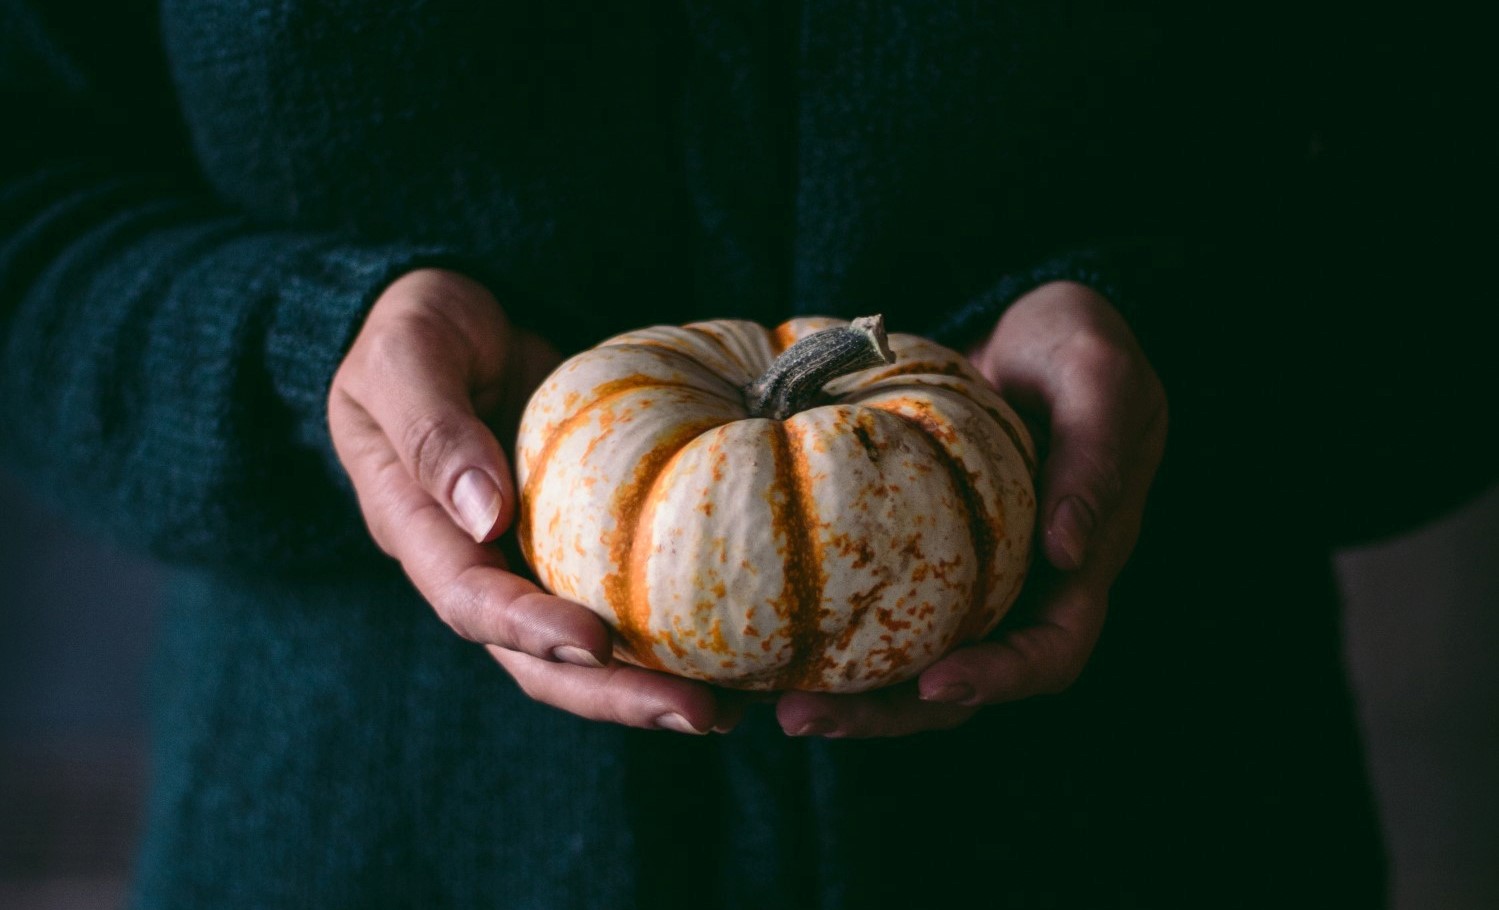
Pumpkin carving is maybe the most iconic Halloween tradition. There’s something about carving a face into the unofficial fruit of fall that seems to put everyone in the spooky spirit. While it is fun and festive, it also can be messy and a hassle. First, you have to pick a pumpkin (which is always harder than it should be), set up table cloths, set out bowls, find last year’s pumpkin carving kit (if you are lucky), have everyone fighting over the carving tools, pumpkin guts getting everywhere…get the picture? Anyone who has carved pumpkins as a family knows the struggle. Every year seems to have more problems than the last. Well, I’m here to break the wheel of insanity. Pumpkin carving should be something that is loved, not feared. With years of family pumpkin carving experience and the help of the internet, I am here to give you some of the best pumpkin carving hacks on this side of the Mason-Dixon line.
Start at the bottom, not the top!
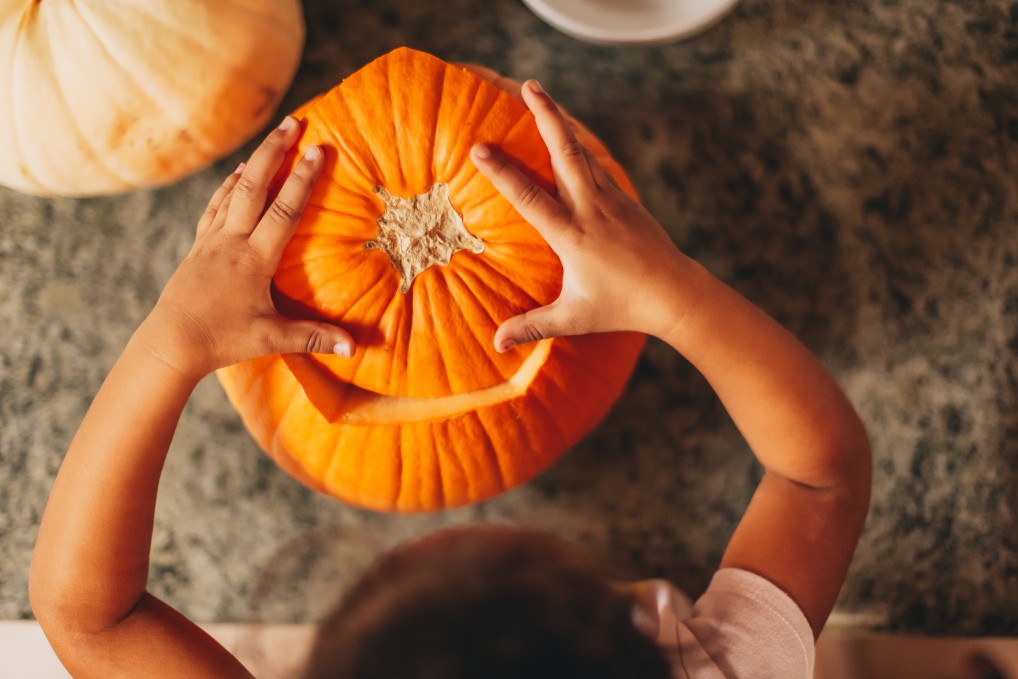
Since the beginning of time, people have cut around the stem to get to the greasy, grimy, pumpkin guts. That seems like the natural way to go about it, start from the top and work your way down. It’s one of those things that sounds better in theory than in practice. Half the time the top you cut off ends up smaller than the hole in the pumpkin. In addition to that, the pumpkin starts to implode from the top because there is no support structure there. The answer is actually to gut the pumpkin from the bottom. Professionals have been doing this for years, and for good reason. When you cut from the bottom, you pull out a majority of the insides without having to lift a spoon. With the bottom removed you now have access to the inside of the pumpkin with better leverage. This also reduces the chance of the jack-o-lantern collapsing in on itself. Just remember to add a hole at the top for the candle smoke out!
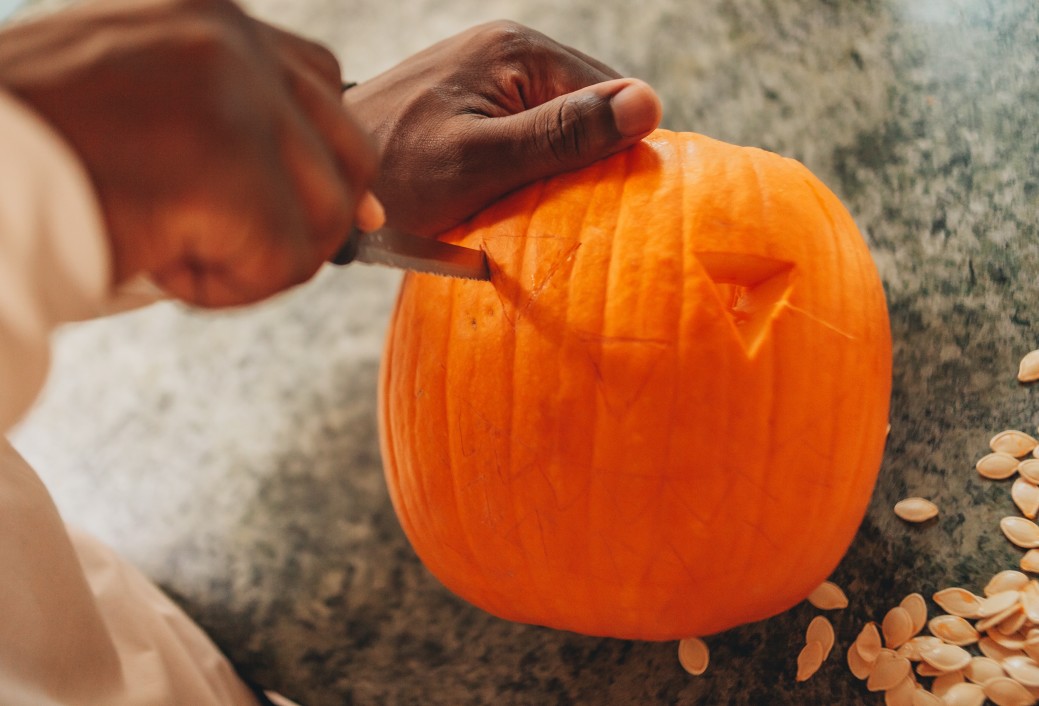
Use the right tool for the job.
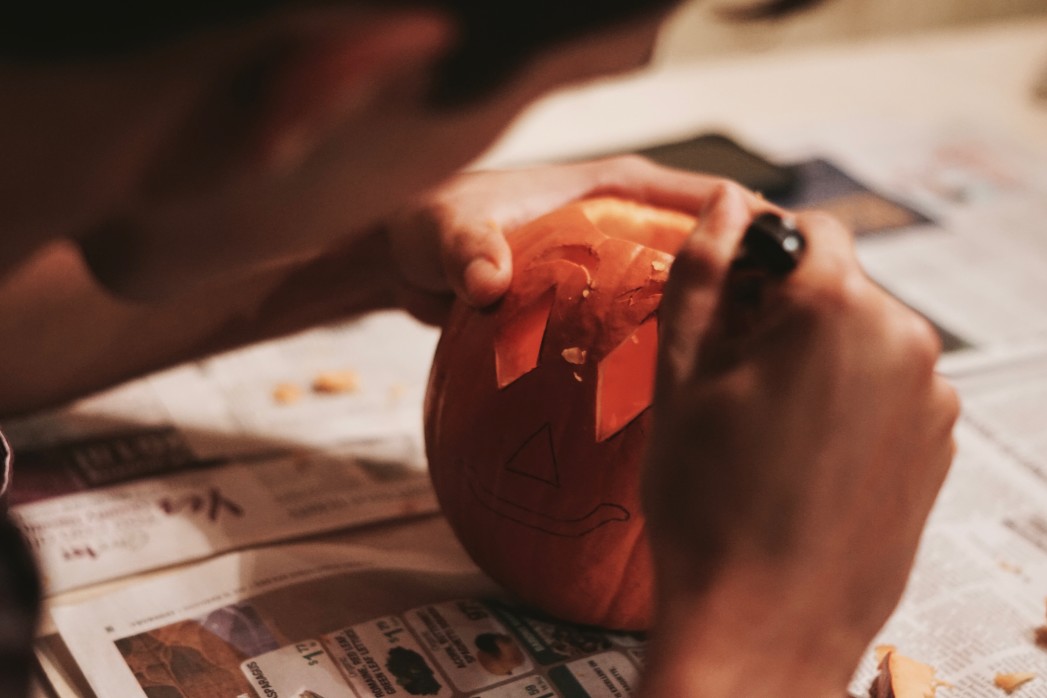
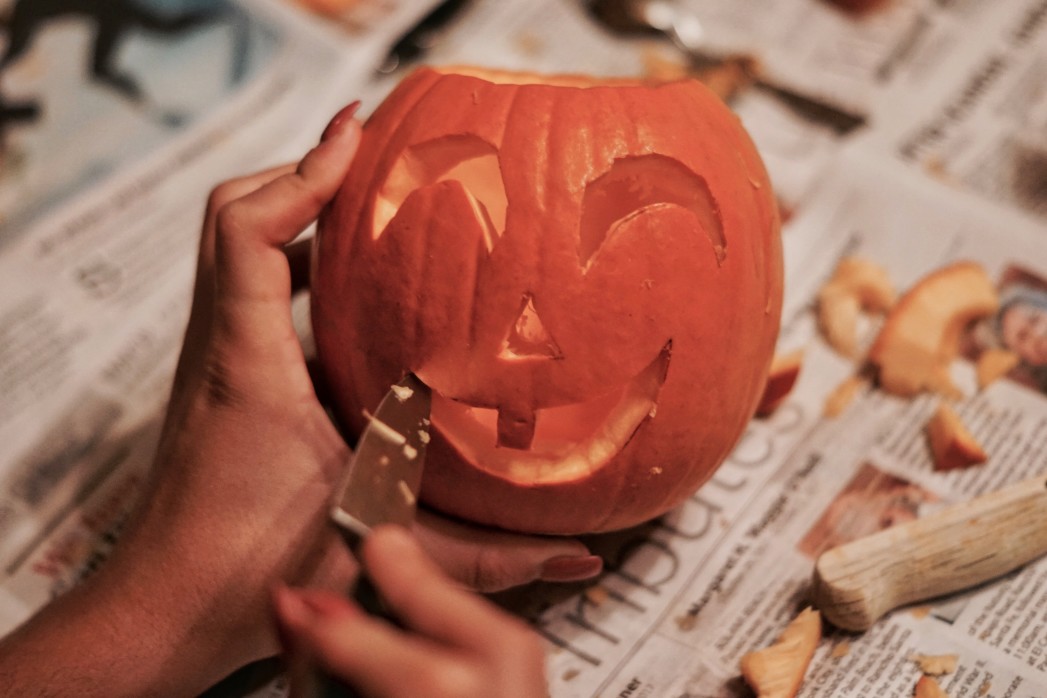
Pumpkin carving tool kits are convenient and effective. If you are anything like me, you wait until the last minute to buy them and they are all sold out. In a family setting, the kids normally get to use the kits while the parents are left to fend for themselves. No need to fear. There are plenty of common household items to substitute for carving kits. A good alternative for a regular scooper is a melon baller or an ice cream scooper. They are built to scoop other things, so why not pumpkins? Any type of serrated knife will work great when you are ready to get carving. If your first attempt comes out a little rough or undefined, go to the garage and grab an Exacto knife or box cutter. The small thin blade allows for detailed cuts and precise detail. Once your masterpiece is finished, there are a few options on how to show it off. If you like your jack-o-lanterns old school, tea lights are always the go-to. Don’t be afraid to put three or four in there to really make your design pop. For those who don’t want to mess with fire or deal with smoke, battery-operated tea lights can be found at Wal-Mart or Amazon for fairly cheap. Don’t have time to run to the store? Dig up a strand of white Christmas lights and stuff them in there!
Tips to Impress
As many hours of reality T.V. can attest, pumpkin carving is an art form. There are hours and hours of content online and on T.V. to give you all the ins and outs on how to be a professional, but I’m just going to cover some that I think can best help amateurs like myself. The first thing is ditch drawing on the pumpkin. It’s tough, messy, and ineffective. It’s not like Easter eggs where the canvas is small and smooth, pumpkins are large and lumpy. Markers wipe off, pens have a hard time writing, and pencils are tough to see. The best way to avoid this is to put your pen to paper and tape your picture to the pumpkin. It’s going to feel silly and look stupid, but I guarantee you that it’s going to get you closer to your vision than free-hand ever will. A good alternative to tracing is using a fork to outline your picture on the pumpkin. The perforations will also make your cuts a little easier. Once your pumpkin is finished, rub any of the raw pumpkin spots with petroleum jelly to help lock in moisture and prolong the jack-o-lantern’s life.

It’s always a good idea to work smarter, not harder. Time and sanity are hard to come by, especially during the holidays. I hope that some of these tips help make your pumpkin carving experience have all the fun with half the stress. Until next time friends!
Interesting Pumpkin fact: Do you know you can make a scented Jack-o-lantern? Just add some cinnamon to the inside of your pumpkin and let your candle do the rest! Your house will be smelling like pumpkin spice in no time!